This game was a long time in coming. My friend John has been working on his micro armour and terrain for quite a while and finally had enough done to host a game. The scenario he chose was a segment of Operation Totalize. That mad dash to close the Falaise gap. The Worthington Force consisted of the Algonquin Regiment, mounted in half-tracks and carriers and the British Columbia Regiment (armoured), consisting of Shermans, Fireflys, and Lynx II armoured scout cars. Their objective was a pre-dawn rush down current day route D658 to Point 195 just north west of Potigny.
In the darkness when passing through the town of Cintheaux they take the wrong road and are now heading south east along the Chemin Heusse.
This is where our game starts. The rules used are Shwere Kompanie. The figures are 1/300 micro armour and the game scale is 1 vehicle = 1 vehicle, 1 infantry formation = 1 squad.
 |
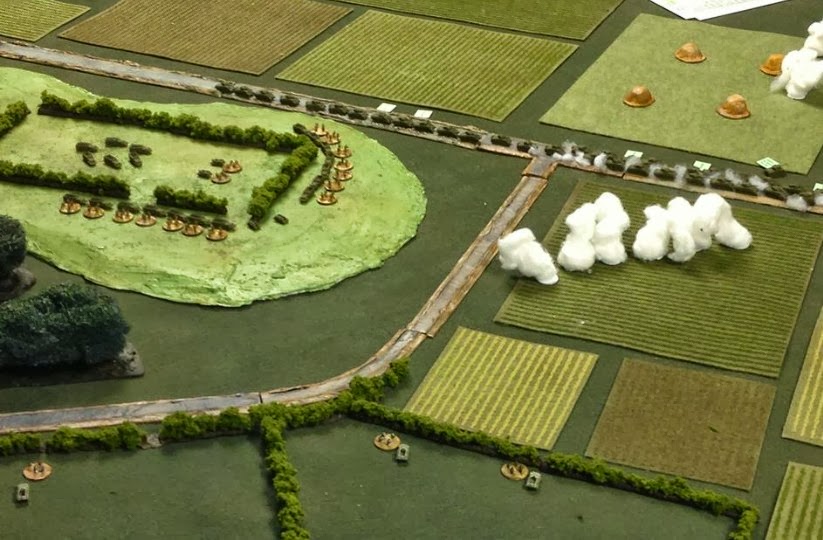
| The choices of which hill to take. 1 would be optimal but is a long reach. 2 has better cover. 3 is the safest. |
The Canadians decide to rush for hill #1. In reality it's Pt 132 on the map.
 |
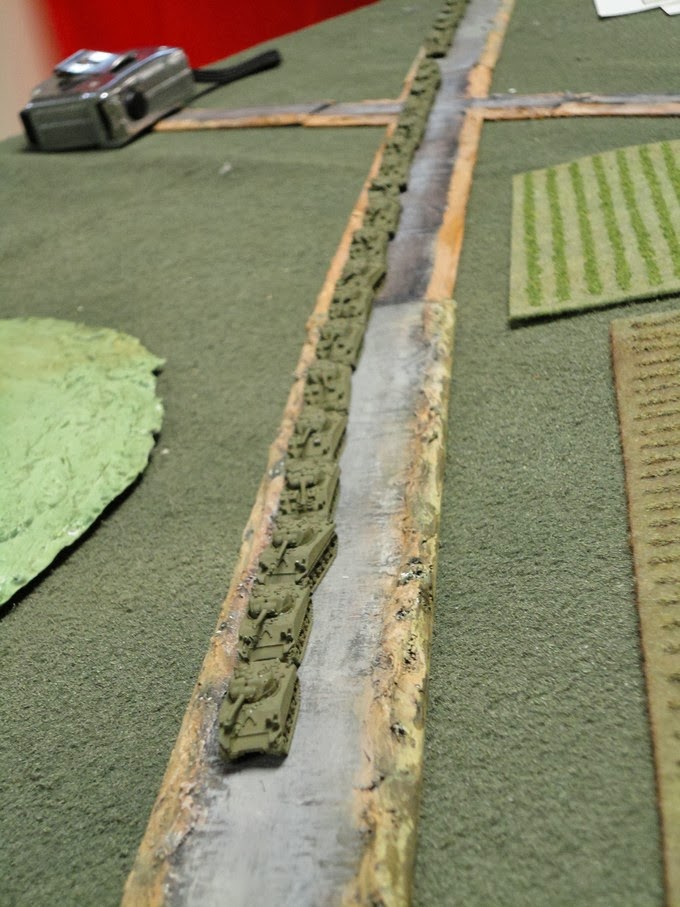
| Heading south 3 squadrons of the British Columbia Regiment head down the highway. |
Way out in front of them recce units look for the enemy.
 |
| A Lynx II scout car near the base of hill #1 or Pt 132. |
It's hard to mask such a large force moving in a mass. Elements of the 12th SS, 85 Infantry Division and Tigers of SS Pz Abt. 102 rush into firing positions.
 |
| A zug of Panthers races up from Potigny. |
 |
| The Canadian armoured column can he seen moving down the road. |
The German forces manage to place armour on either side of the highway and start engaging the Canadian tanks.
 |
| Tigers take a bead on the column. |
 |
| Through a gap in the trees the leading elements of the column come under fire. |
 |
| The soft fields on either side don't allow for quick maneuvering. In 5 minutes 11 Shermans are burning. |
While the action on the road is happening the Algonquin regiment decide to make a run for hill #2 and dig in.
 |
| They start to break off the road and head to the hill to the right. |
 |
| The infantry dig in while the armour column struggles with fire from both sides of the road. |
The second troop lays down a smoke screen to help the lead elements get out of the intense fire.
 |
| Time to retire? |
 |
| Looking north Pt 132 or hill #1(bottom left) isn't going to be reached today. |
It was at this point we decided to call it a game. 2 of the 3 tigers on the German left did get knocked out by fire from a few Fireflys. Of the 3 squadrons of armour on the road 1 squadron was completely decimated.
In reality the Canadian force did receive the heavy resistance from the Germans and made a run for Pt 140 with the 2 remaining squadrons at around 9:30am. The main Canadian 4th Division didn't know what happened with Worthington's Force and couldn't offer any amount of artillery support. It was with the support of some Typhoon fighter bombers they managed to keep the German forces at bay.
Our game lasted about 4 hours and we were surprised at the high level of canage on the road. We can see now how Wittman pulled off his famous attack on the British 7th Armoured Division at Villers-Bocage.
The micro armour allows you to play the large battles and use more realistic distances for combat. I found the game very enjoyable and we are actually going to do a repeat of it again soon.


