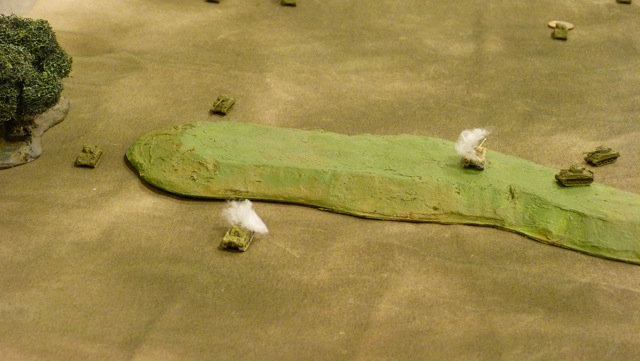
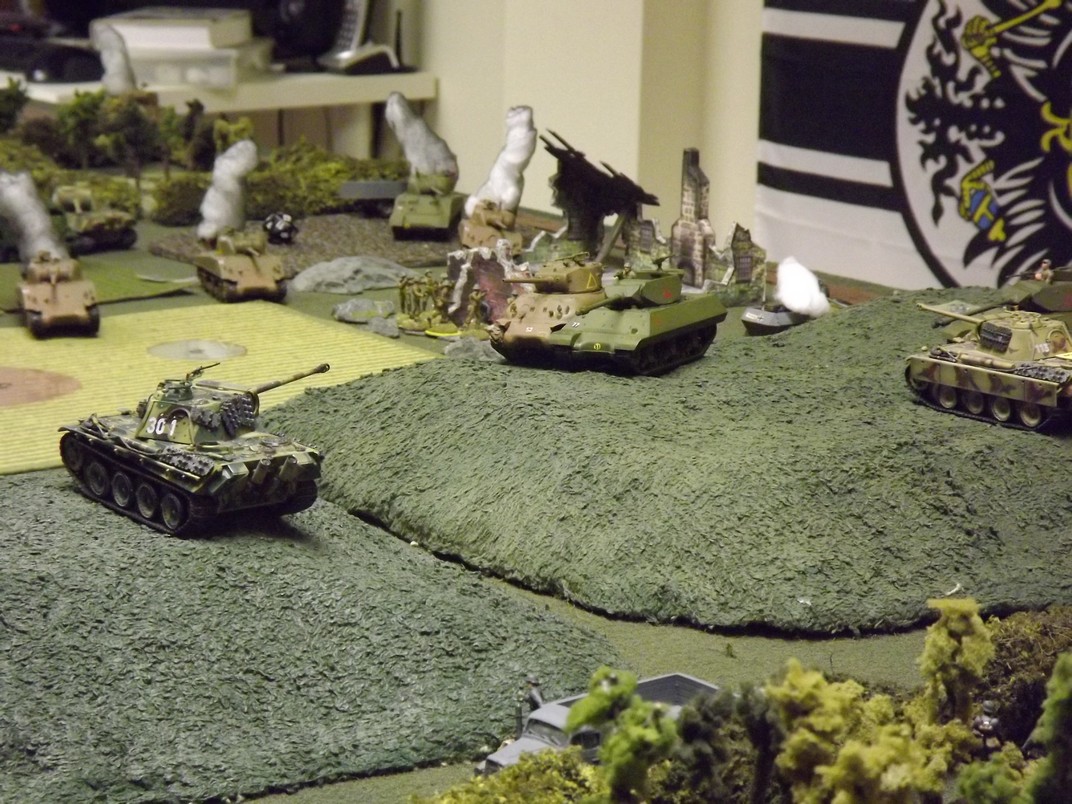
Sunday, January 5, 2014

Advance and take that Normandy village!

Our group decided to do a WW2 skirmish game. A small scale, 1 figure = 1 man type of game. Very little armour. The scenario was a supported Canadian force moving on a Normandy village. We had the opportunity to play this as a double blind game with a ref watching all plotted off board moves. When opposing sides came within sight of each other they were placed on the table. The Canadian force consisted of 2 platoons of infantry supported by 2 Sherman M4A1's, a Daimler scout car, and a mechanized mortar section (universal carriers). The German forces are unknown.
The shelled out Normandy village.
The Canadian forces decided to split into to flanking forces. The left force had the benefit of the 2 Shermans while the right force had the scout car and the mortar section.
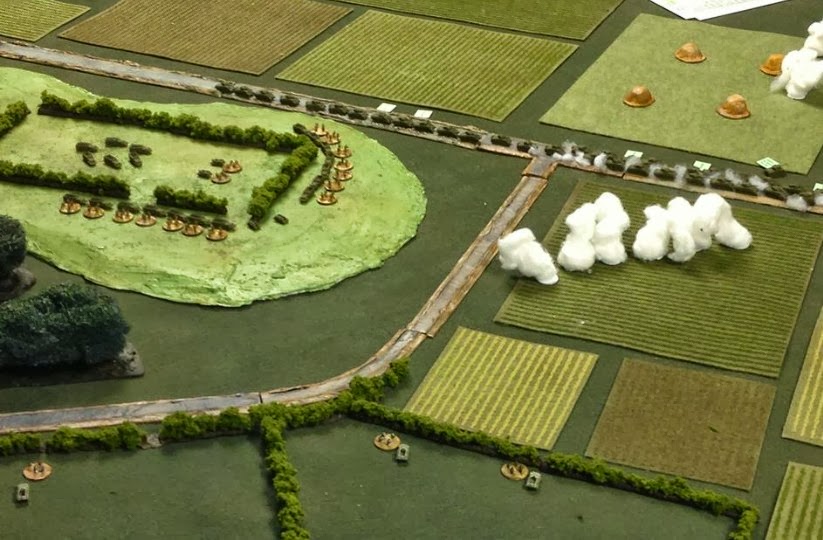
The left force advances across a field. Infantry spread out to minimize artillery strikes. The right force is moving up the other side of the road but hasn't been seen by the enemy yet and therefore not placed on the table.
The left force proceeds across the field. No Germans in sight yet.
Still quiet.
The Canadians are becoming too confident. No enemy in sight.
Ambush!
A German squad with a supporting MG34 opens up on the the Canadian flank. Once Canadian squad manages to pull back with one casualty while the other leading squad gets pinned down and annihilated. Only one soldier escapes!
Counter attack. The German squad has bugged out.
With the help of some HE fire from one of the Shermans the German squad on the Canadian flank is forced to pull back. The Germans did manage to slow down this Canadian platoon with minimal losses.
Hidden armour.
 While the left forces was struggling with the German flank attack the Germans moved a Mk IV into a building and started to engage the 2 Shermans.
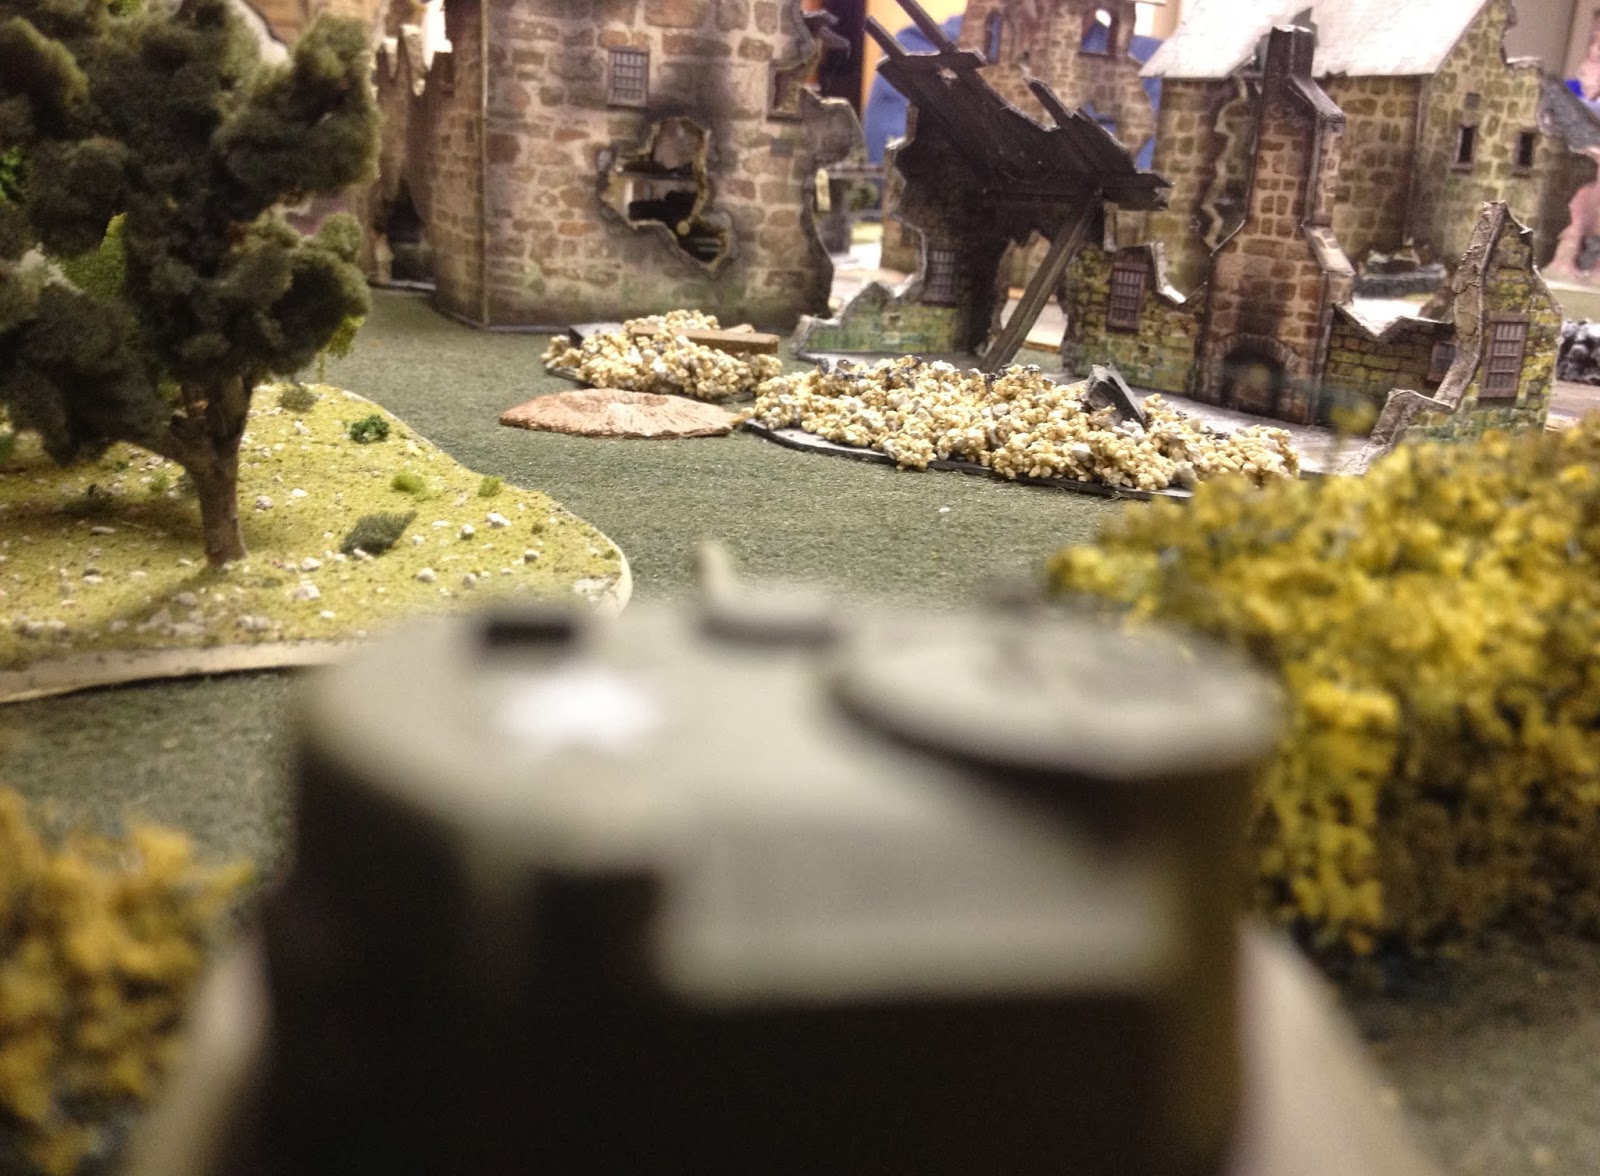
View from the other side.

View of from the Canadian side of a well hidden Mk IV tank.

Smoke!
The mortars manage to place down a smoke screen to hide the Shermans. This forces the Mk IV out of the building. Meanwhile on the right side of the road the right force makes it to the church.
Backing out of the house.

Caught a German mortar in a nearby field.
The German mortar crew got caught in the open and paid the price.

Canadian infantry make it to the church but can't move any further.

The scout car falls victim to a lucky mortar round.
With the scout car knocked out the Germans decide to go on the offensive and run their Sd. Kfz 251 halftrack down the road to engage the stalled Canadian infantry.

What's that down the road?
One of the Shermans reversed it's course in the field and decided to move down the road. It managed to take a shot at the German halftrack  but missed. It was at this time that the Canadian forces realized that they'd need more help in taking the village and decided to pull back.

The game ended with a German tactical victory.

The rules used are home grown. As mentioned the scale is 1 fig = 1 man, 1 vehicle = 1 vehicle.


Monday, September 30, 2013

Worthington Force vs 12th SS

This game was a long time in coming. My friend John has been working on his micro armour and terrain for quite a while and finally had enough done to host a game. The scenario he chose was a segment of Operation Totalize. That mad dash to close the Falaise gap. The Worthington Force consisted of the Algonquin Regiment, mounted in half-tracks and carriers and the British Columbia Regiment (armoured), consisting of Shermans, Fireflys, and Lynx II armoured scout cars. Their objective was a pre-dawn rush down current day route D658 to Point 195 just north west of Potigny.
In the darkness when passing through the town of Cintheaux they take the wrong road and are now heading south east along the Chemin Heusse.
This is where our game starts. The rules used are Shwere Kompanie. The figures are 1/300 micro armour and the game scale is 1 vehicle = 1 vehicle, 1 infantry formation = 1 squad.
The choices of which hill to take. 1 would be optimal but is a long reach. 2 has better cover. 3 is the safest.
The Canadians decide to rush for hill #1. In reality it's Pt 132 on the map.
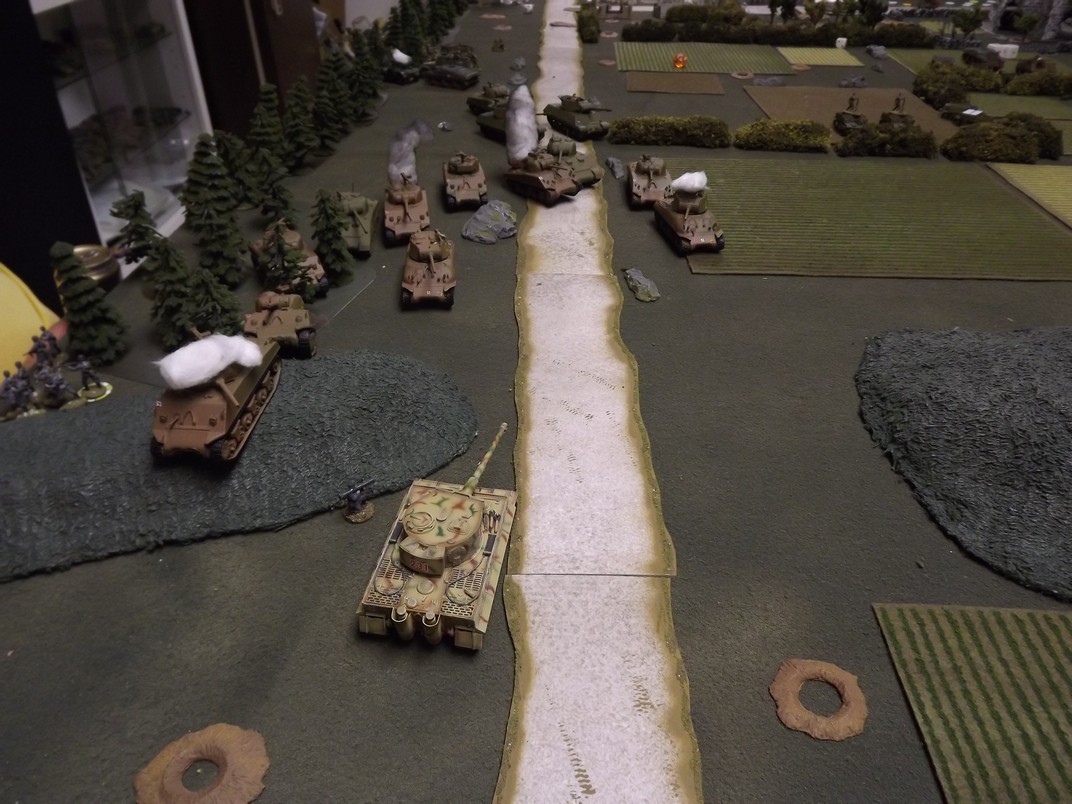
Heading south 3 squadrons of the British Columbia Regiment head down the highway.
Way out in front of them recce units look for the enemy.
A Lynx II scout car near the base of hill #1 or Pt 132.
It's hard to mask such a large force moving in a mass. Elements of the 12th SS, 85 Infantry Division and Tigers of SS Pz Abt. 102 rush into firing positions.
A zug of Panthers races up from Potigny.
The Canadian armoured column can he seen moving down the road.
The German forces manage to place armour on either side of the highway and start engaging the Canadian tanks.
Tigers take a bead on the column.
Through a gap in the trees the leading elements of the column come under fire.

The soft fields on either side don't allow for quick maneuvering. In 5 minutes 11 Shermans are burning.
While the action on the road is happening the Algonquin regiment decide to make a run for hill #2 and dig in.
They start to break off the road and head to the hill to the right.
The infantry dig in while the armour column struggles with fire from both sides of the road.
The second troop lays down a smoke screen to help the lead elements get out of the intense fire.

Time to retire?
Looking north Pt 132 or hill #1(bottom left) isn't going to be reached today.
It was at this point we decided to call it a game. 2 of the 3 tigers on the German left did get knocked out by fire from a few Fireflys. Of the 3 squadrons of armour on the road 1 squadron was completely decimated.

In reality the Canadian force did receive the heavy resistance from the Germans and made a run for Pt 140 with the 2 remaining squadrons at around 9:30am. The main Canadian 4th Division didn't know what happened with Worthington's Force and couldn't offer any amount of artillery support. It was with the support of some Typhoon fighter bombers they managed to keep the German forces at bay.

Our game lasted about 4 hours and we were surprised at the high level of canage on the road. We can see now how Wittman pulled off his famous attack on the British 7th Armoured Division at Villers-Bocage.

The micro armour allows you to play the large battles and use more realistic distances for combat. I found the game very enjoyable and we are actually going to do a repeat of it again soon.

Tuesday, January 1, 2013

Making roads

Another guest article from my friend John. He's discovered a cheap and easy way to make roads for gaming. Check out his 'how to' below.

Step 1
Cut artist grade cardboard into 1" x 12" strip and cut 1/2" x 12" non glossy sticky floor tile and stick them together. I game micro armour so this size works well for secondary roads.  For full size roads I use  2" cardboard and 1" tile.
 
Step 2
Run a bead of latex paintable caulking along edge of cardboard and tile. Smooth in and rough up a bit.  You can add some screening at this stage as it will stick to the caulking.  Wait for caulking to dry.
 
Step 3
Prime with watered down black acrylic paint.  Wipe the tie tile gently so you leave a trace of the paint.  You can always add more.
 
Step 4
Paint the edge of the road your choice of brown (raw sienna for me) and then once it's dry you can dry brush it with lighter a shade of brown and add dabs of green or flocking.  
 
Step 5

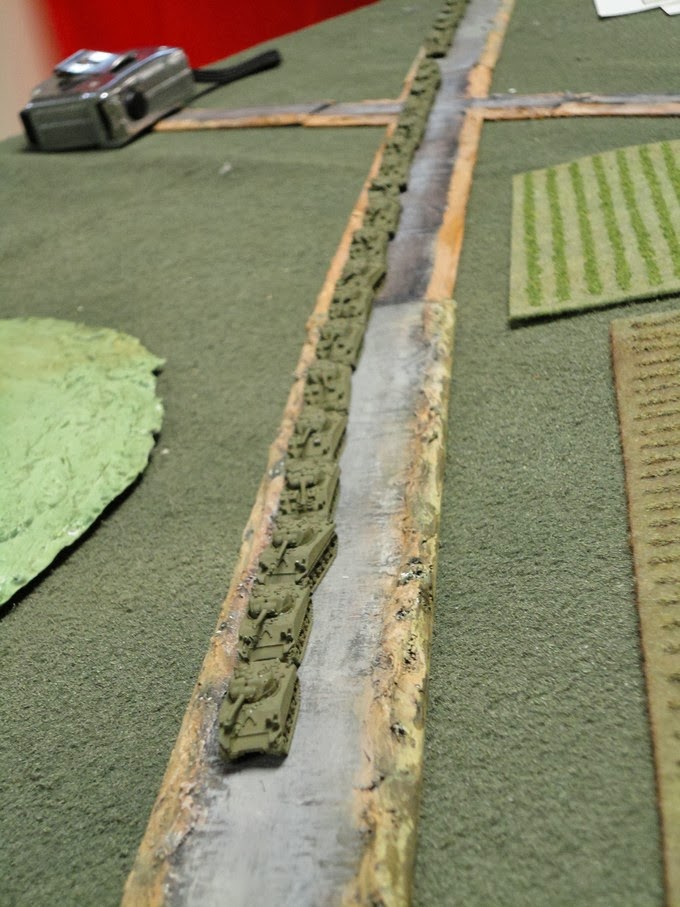
Make more.  This is a collection I've started for 1/265th but you can vary the size depending on the scale.  A Panther alongside to give you and idea of size.  You'll be cranking out miles of scale road before you know it.
 
Here's a sample of John's work in 1/72 scale. He made a whole pile of roads for my skirmish game. Looks great eh?
  

Sunday, December 30, 2012

Normandy Tank battle

A new feature I'm starting on my gaming blog is guest articles. For the first one my good friend John has been working out the kinks of his micro armour game and has supplied me with his latest work on a Canadian armour formation meeting to German Panthers in Normandy. Enjoy!

Here's the latest scenario I was playing with. I'm using Schwere Kompanie rules which once you get the hang of it is pretty fast and furious.  1 inch = 50 yds

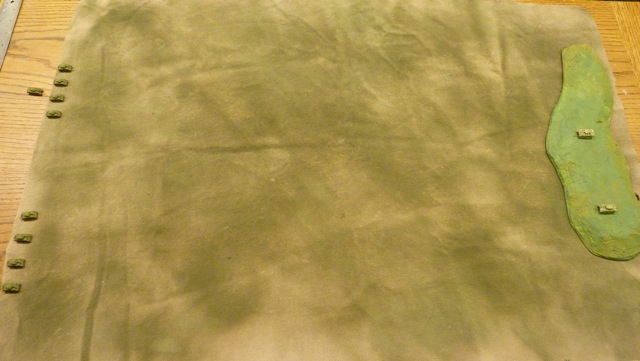
The Canadians have been tasked with taking a ridge and advance with 2 troops of Shermans each with 4 M4's and 1 FireFly each.  Normally the troop would only have 3 M4's. They will have to cross an open field in order to reach their objective.  They have also been informed that there are 2 Panthers on the ridge.

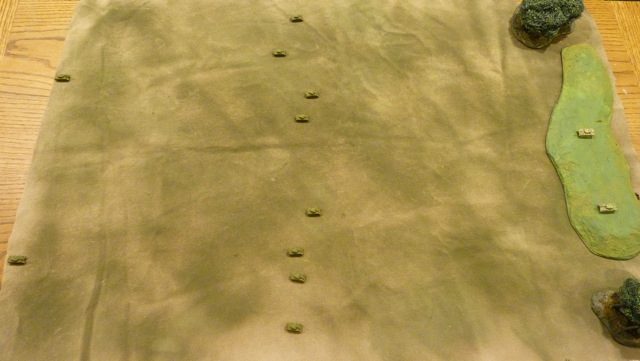
Image 1 is the start line and the Canadians have the initiative.  Combatants are 30" apart or 1500 yds.  The Canadian plan is to hit the pedal and sprint the screen of M4's across the open ground as two separate battle groups with the FF's in support.  Max move for the M4's is 16 inches which uses all there action points for the turn and they will not be able to fire as seen in image 2.  Gutsy but let's see what happens.
 The Panthers get to declare  fire on the fast approaching M4's. 

P1 blows his roll due to the M4 fast moving target modifier.  P2 2 is luckier and gets a kill but the crew survives.  Panthers get a 2nd shot as they have only used 1/2 of their action points.  The Fireflies are curiously immobile.  P1 gets a hit and due to his roll suppresses his target and the crew breaks.  P2 gets a miss.  FF's advance half of their action points and are able to fire. FF1 hits and suppresses Panther but survives his break test.  FF2 fires to no effect.
Now it's ugly time.  This part is a judgement call as the easy targets are the M4's but the prize are the FF's.  I opt for the easy target and am able to kill 3 more M4's as they are the one's I've opted to move first. The rules are 'I go you go' and the Panther's have expended all of their action points but were able to fire twice. However notice that, hey where did those trees come from?  Notice that 2 of the M4's have advanced to a flanking position expending all of their action points. The FF's advance half of their action points and are able to fire which results in the death of one Panther.
Aspect from the Canadian side.
In the image above, Panther 2 decides to bugger off at this point in reverse using all action points and Canadians advance on their objective and get a lucky flank shot and kill the fleeing German. So ends tactical experiment 1 with a Pyrrhic Canadian victory with 50% casualties.  This was strictly a move and fire experiment to see if it would be possible to go Russian style on the Germans and overwhelm them in open ground at high speed. 
 
I found the rule set to be very easy to use and realistic and made for a fast and furious pace. I'm looking forward to adding other elements into the mix.

Hope you enjoyed.

John

Wednesday, November 21, 2012

WW1 village attack

It's been a long time since I've played a WW1 skirmish game so I dusted off my trench terrain and invited some friends over. The scenario is the British found out that the Germans have moved into the shelled out village in no-man's land. The British Colonel does not like it at all and informs the battalion major to send out a company in force to claim the village. To help 4 tanks are added to the mix plus a few batteries of off board artillery.
The situation. Germans in the village and the British are getting ready to push them out.
The Germans were thinking of adding a reinforced observation post in the village and anticipated the British would challenge them. They send a company's worth of troops to support the OP.
The opening few turns finds the British working their way through their own wire and approaching the outskirts of the village.
The Germans are settling in.

The Germans decide to seek cover. The British off board artillery starts coming into the village area and provides a screen for their infantry.
Tanks lead the charge.
The tanks move ahead of the infantry and start driving down the main street in the village. The German off board artillery starts opening up now but somehow the tanks keep coming.

The Whippet gets into the thick of it.
With the Whippet tank leading she takes the brunt of opposing fire. Even a flamethrower is having problems igniting it's stream! The front MG on the Whippet is knocked out but the side MG's are still working.


The infantry move up.
As the Germans struggle dealing with the tanks the British infantry move up to the village.
More British move into the village outskirts.
By now the British infantry start trading fire with the Germans and slowly start pushing them back.
More British infantry move in.
The tanks were the trick to the job at hand. Soon the Germans are overwhelmed with the onslaught of British troops and are forced to give ground. The game was a tactical victory for the British. The Colonel can sleep tight tonight!
The figure scale is 15mm. The gaming scale is 1 figure = 1 soldier. Squad level action. The rules are my home grown skirmish rules. 


Sunday, August 5, 2012

Commonwealth Beach Assault. Part I

After a successful Totalize scenario we decided to whip up a beach assault game. It would be a combined beach assault and airborne landing further in. The airborne drop had the job of securing at least 1 of the 2 bridges that isolated the town on the coast.
The coast and the shelled out town. The German defenses consisted of concrete pillboxes, Pak guns, and barbwire.
The Allied assault consists of 2 ARVE Churchills, a 25 Ib'r on a landing craft, and 4 fully loaded infantry landing craft. The Germans mainly have numerous infantry squads, 1 self-propelled gun, and a Wespe. No other German armour (yet).
View from the land side. One of these 2 bridges has to be secured by airborne forces.
The Allied paratroop drop was successful and they managed to land in an unprotected field. About 8 paratroops ended up in the trees.
The Germans were caught a little off guard with the airborne drop and start to advance on the British airborne troops. A halftrack didn't last long against a PIAT.
A furious firefight develops on the southern flank of the airborne forces. The German attack fades.
The airborne landing was successful with the British troops holding off probing German attacks. Their next objective is to capture a bridge (or two!). The beach landing hasn't begun yet but the 25 Ib'r on the landing craft has a lucky shot and takes out a Pak 40 gun that was located close to the beach.

Canadian breakout - Operation Totalize

With the City of Caen more or less secured the Canadian forces (with the help of Polish and British forces) decided to spear point an attack south and attempt a link up with US forces and thus complete an encirclement of the German army in Normandy.
We would attempt a segment of this scenario over 3 separate days of wargaming. I would command German forces while my friends Bob and John would command considerably more Canadian forces.
View of the field of battle from the Canadian side.
The German forces consisting of elements of 89th Infantry division, and 12 SS Division position themselves on the high ground at the end of the table. A screening forces of German infantry set up just south of the ruined church.
German infantry set up at a stone wall. The Panther in the top of the photo is a wreck from an earlier aerial attack.


2 Panthers on the hills with a supporting Tiger I holding the road. In support were 2 Mk IVH tanks and a couple of Wespes.
Most of the heavy German weapons were further back with the exception of 2 Pak guns halfway across the field hiding in some ruins.
The Canadian attack begins with elements of the  2nd Canadian Armoured Brigade moving forward.
As the Canadian armour advances around the church ruins the German infantry get quickly overwhelmed.
The German infantry managed to knock out a Firefly tank with a Panzershreck but soon had to fall back through the orchard.
My mistake was keeping the German infantry too long in the forward position. I ended up losing most of the infantry force positioned there. The Canadian mechanized infantry started a successful running battle through the orchard. My 2 Pak anti-tank guns succumb to 25 Ib'r artillery fire.
On the other side of the table the Canadian armour starts to bunch up and waits for the right time to launch the attack.
A Panther in over watch position.
My opponents  don't like what they see and decide to lay down a smoke screen to hide their advance.


So far so good for the Germans. The Canadian attack on the right is losing steam.

Eventually the German right starts to crumble. A Mk IVH brought up to support the retreating infantry gets nailed. Another Mk IVH had it's main gun knocked out and attempts a retreat out of the Canadian advance. The Panther on the hilltop suffers the same fate and starts to back up.
The German right starts to give way. The Canadians lose 5 tanks in the advance but manage to get into position to roll up the German defensive line.
On the German left the other Canadian armoured column starts forward and feels the sting of the Tiger's 88.
The Canadians managed to start rolling up the German line on the German right. A Firefly and M10 Achilles ignore a Panther that has it's main gun knocked out and concentrate fire on it's sister. The remaining Panther does get knocked out but takes the M10 with her.
With the German right dissolving the Canadian armour on the German left makes a dash for it. A Panzershreck takes out a cresting Sherman while the Tiger takes out another Firefly.
The Germans were eventually overwhelmed with the Canadian attack and had to give ground. We decided it was a Canadian tactical victory.
If you didn't notice in the photos the plowed fields changed appearance. I was using cut up floor mat for them but decided to replace them with Hot Matz ones I found on the internet. The rules used were my homemade ones. The gaming scale is 1 figure = 1 man, 1 vehicle = 1 vehicle. The figure and vehicle model scale is 1/72.